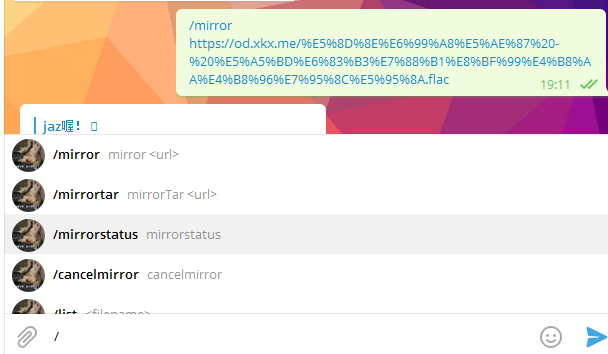
Recently saw an interesting Telegram Bot project, you can use aria2 to download files and upload them to Google Drive. Usually they also have to use to aria2-rclone automatically uploaded to Google Drive, this way through Bot.
Installation:
I. Pre-installation preparation:
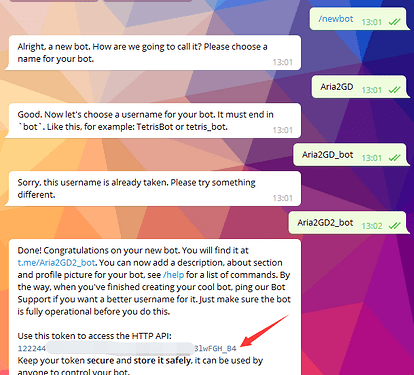
- Create a Telegram Bot (Reference) 8
Open
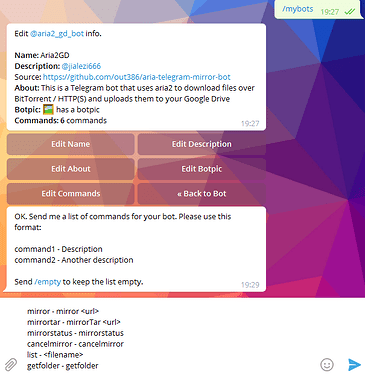
BotFather 7 to create a new Bot and save the generated API
- Add this bot to the group @get_id_bot to get your own id and group id (Note: When the group’s public or chat history is made visible, the group id changes) and optionally, give it the permission to delete messages. This permission is used to clean up status request messages from users. Not granting it will quickly fill the chat with useless messages from users.
- Install aria2 3.
For Ubuntu :
apt install aria2
- Get Google Drive folder ID
- Install nodejs
In Ubuntu can be installed directly apt, other platforms see here 1
curl -sL https://deb.nodesource.com/setup_10.x | bash - &&
apt-get install -y nodejs
II. Installation
- Install TypeScript with
sudo npm install -g typescript
- Clone the repo:
git clone https://github.com/out386/aria-telegram-mirror-bot 20
cd aria-telegram-mirror-bot
- Run
npm install
- Copy the example files:
cp src/.constants.js.example src/.constants.js
cp aria.sh.example aria.sh
- Configure the aria2 startup script:
nano aria.shARIA_RPC_SECRET is the secret (password) used to connect to aria2. Set this to whatever you want, and save the file with ctrl + x .MAX_CONCURRENT_DOWNLOADS is the number of download jobs that can be active at the same time. Note that this does not affect the number of concurrent uploads. There is currently no limit for the number of concurrent uploads.
- Configure the bot:
nano src/.constants.js- Now replace the placeholder values in this file with your values. Use the Constants description 1 section below for reference.
- Compile the project by running
tsc
- Set up OAuth:
- Visit the Google Cloud Console 1
- Go to the OAuth Consent tab, fill it, and save.
- Go to the Credentials tab and click Create Credentials -> OAuth Client ID
- Choose Other and Create.
- Use the download button to download your credentials.
- Move that file to the root of aria-telegram-mirror-bot, and rename it to
client_secret.json
- Enable the Drive API:
- Visit the Google API Library page.
- Search for Drive.
- Make sure that it’s enabled. Enable it if not.
- Start aria2 with
./aria.sh
- Start the bot with
npm start
- Open Telegram, and send
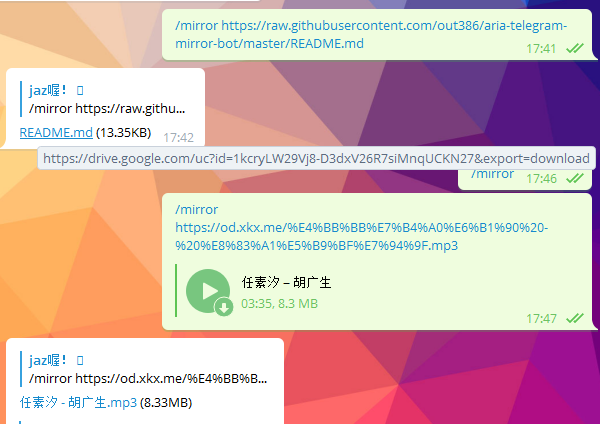
/mirror https://raw.githubusercontent.com/out386/aria-telegram-mirror-bot/master/README.md to the bot.

- In the terminal, it’ll ask you to visit an authentication URL. Visit it, grant access, copy the code on that page, and paste it in the terminal.

That’s it…
READ FULL DESCIPRION & DETAILS
HERE


Comments
Post a Comment